
Loading...
Searching...
No Matches
Improve the security of your apps and plugins by locking their access until authorisation. Learn how to provide users with a mechanism to unlock your plugins through online registration of keys.
Level: Advanced
Platforms: Windows, macOS, Linux
Classes: OnlineUnlockStatus, OnlineUnlockForm, KeyGeneration, RSAKey, TracktionMarketplaceStatus
Download the demo project for this tutorial here: PIP | ZIP. Unzip the project and open the first header file in the Projucer.
If you need help with this step, see Tutorial: Projucer Part 1: Getting started with the Projucer.
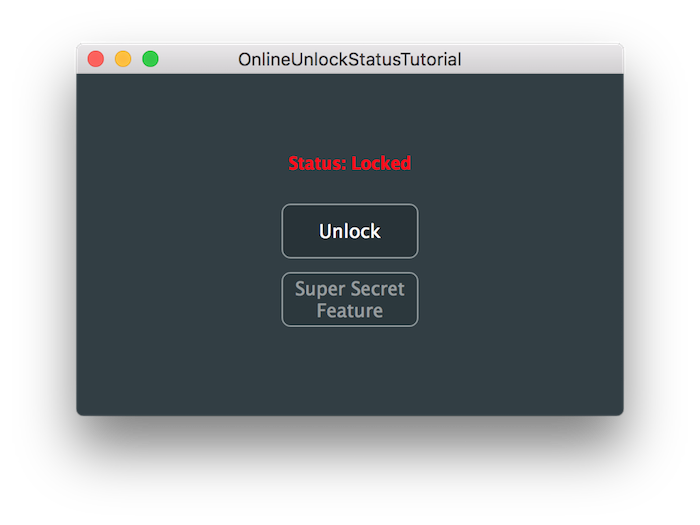
The demo project shows a very simple UI with two buttons, one of them is used to unlock access to the other one through registration. When the "Unlock" button is pressed, a registration form will open in order for the user to insert credentials. At the moment, the registration process will fail until we start implementing the back end server.
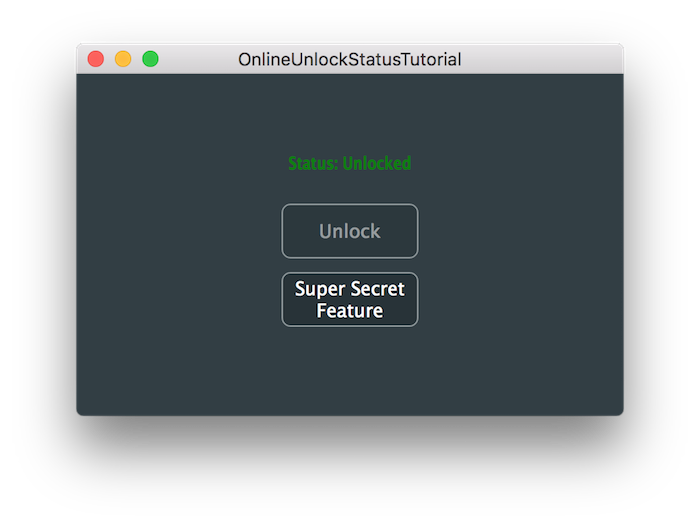
After successful implementation and authorisation of the application, you should see the following unlocked state of the app at the end of this tutorial.
As a plugin manufacturer, it can sometimes be frustrating to have your plugins cracked by hackers or even circulated free of charge without your consent. Although it can be difficult to make your applications full-proof against such threats, there are means to make this process more tedious for hackers. Sometimes you may want to offer a trial period for users to try your product before deciding on purchasing it or alternatively restrict certain features for free tier users.
Depending on the manufacturer, different methods are used to improve the security of plugins: some may use a third-party licensing solution such as PACE's iLok which requires a physical USB stick to carry the licenses or a proprietary system that authorises users by checking the credentials against a database on a remote web server.
In this tutorial, we look at the second method to register plugins via web server authorisation. The advantage of this method is that it can function both online as well as offline and does not require a physical device for registration. However since the plugin is registered to the machine for a period of time, this technique is more vulnerable to hacking compared to PACE's solution that requires authorisation every time the plugin launches.
So how does server authorisation work? If the machine is connected to the internet, we can perform what's called an online authorisation where the plugin sends the user credentials through a secure connection and probes the server for a license key. If the user has indeed been verified to have purchased the product, the server sends a key file back to the machine and the plugin can be unlocked. On the other hand if the machine is offline, the user can still download the key file from the web server via a different computer connected to the internet and the key file can then be copied and applied to the offline machine by loading it into the plugin.
Now let's talk a little bit about cryptography. How do we ensure that the information is not tampered with during transmission between the two parties? We use a widely-used secure encryption algorithm called RSA to ensure this. RSA works on the basis that a pair of keys is created using prime numbers with one of them being public and the other one being private. The public key can be shared publicly and it is used to encrypt the message. The private key is kept private by the receiving party and it is used to decrypt the message.
Due to the way RSA has been designed, only the private key owner can decrypt the message encrypted by the corresponding public key of the matching pair. This scenario can be described by the following diagram with Bob knowing the public key, Alice owning the private key and Eve a third-party trying to intercept the message:
In the above case, Eve cannot read the message from Bob as she does not have the private key to decrypt the message. She can still send an encrypted message to Alice by using the public key but this is no use to Eve who wants to intercept Bob's message. This is usually the most common use case of RSA where some party wants to send a secret message but this is not the way RSA is used in the plugin registration process.
There is an alternative scenario to RSA used for plugin authentication where the private key is used to encrypt a message and the public key to decrypt it. This can be described by the following diagram with Bob being the machine on which the plugin is installed, Alice being the authenticating web server for registration and Eve a third-party trying to hack into the plugin:
In this case, anyone with the public key can decrypt the message encrypted with the private key by Alice including Bob and Eve. However, if Eve tries to send an encrypted message to Bob without the corresponding private key from the matching pair, Bob will be able to check the authenticity of the message by decrypting it with the public key. He can then verify that the result is indeed valid as the data will contain garbage and therefore Eve cannot impersonate Alice.
Similarly to this, plugin authentication can be performed simply by checking whether the message sent by the server is valid provided that the server only sends the response if the credentials are correct against the database. Thankfully all this encryption and decryption procedure is handled for us by the JUCE library by classes such as KeyGeneration and RSAKey.
Now that we understand how RSA encryption works, let's start implementing the registration mechanism into our demo project.
In order to facilitate communication between the client using the application on a machine and a registration server that authorises the application, the JUCE library provides a base class that acts as an interface called the OnlineUnlockStatus class. This class provides a foundation to manage the registration status for the current machine on which the application is installed.
The first step towards implementing a store-specific marketplace is to inherit from the OnlineUnlockStatus class and an example of how to implement this subclass is described in the TracktionMarketplaceStatus class. Since this implementation was designed specifically for the Tracktion marketplace, we need to create our own independent subclass but we will borrow the code that handles responses from the server as this can stay identical.
Let's first take a look at the implementation of the TutorialMarketplaceStatus class which derives from the OnlineUnlockStatus class. Notice that the readReplyFromWebserver() and userCancelled() functions were copied from the TracktionMarketplaceStatus implementation for simplicity's sake.
Now the rest of the virtual functions from the base class need to be filled-in to complete our own marketplace implementation.
Insert a product ID for your application in the getProductID() function and make sure this ID matches the product ID on the server later on:
The following doesProductIDMatch() function should verify whether the ID sent by the server matches the product ID inserted in the previous step:
Next, insert the name of your website in the getWebsiteName() function. This information will only be used to display the domain name to the user when contacting the server.
The next function is important as this is the address that will be contacted when attempting authorisation of the app and should point to the marketplace server. For the purpose of this tutorial, we point to the "localhost" or "127.0.0.1" IP address as the test server will run locally on our machine. The page it points to ends with a PHP extension as the server will use the PHP language for simplicity's sake.
When the registration process starts, the client app will request authentication with the credentials supplied by the user and the server will respond with an encrypted message. This message containing the key file to unlock the app can only be decrypted using the public RSA key that corresponds to the private RSA key used to encrypt the message on the server side.
The getPublicKey() function must return this public key and will be filled later on in the key generation step of this tutorial. Prepare the function as follows and leave the field blank for the moment:
The TutorialMarketplaceStatus class now has all the necessary information to communicate with the marketplace server and retrieve the keys.
There are several ways to display a registration form for the user to fill in an app or plugin. We can either overlay a regular Component on top of our interface or alternatively pop up a DialogWindow on top of our main window. The latter option is highly discouraged when developing plugins as this can freeze a simple scanning routine when validating plugins and it can also cause problems if a DAW shuts the plugin down while the registration window is still active.
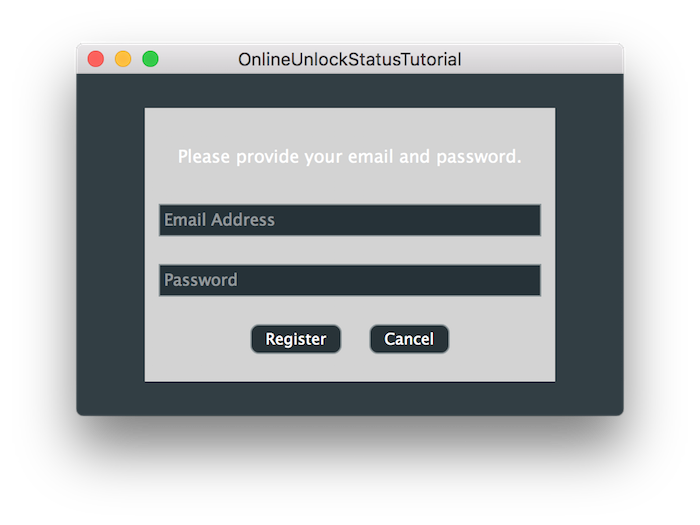
Therefore in this section, we opt for the former option to ensure compatibility with both apps and plugins. In order to simplify the process of implementing a registration user interface, the JUCE library offers the OnlineUnlockForm class that displays two fields for an email and a password and provides seamless implementation for registration in conjunction with the OnlineUnlockStatus class.
Create a class named TutorialUnlockForm and derive from OnlineUnlockForm as follows:
Here we also pass a reference to our TutorialMarketplaceStatus class implemented in the previous section and provide a descriptive message to instruct the user in the class constructor.
In the MainContentComponent, declare three private member variables repectively an instance of a TutorialMarketplaceStatus and a TutorialUnlockForm object as well as a boolean to store whether the application was unlocked.
Modify the constructor to initialise the TutorialUnlockForm by passing the TutorialMarketplaceStatus object and add the form as a child Component as shown here:
Notice here that we also inherit from the Timer class and call the startTimer() function which will be used later on to check whether the app is unlocked.
In the resized() method, set the size of the form to cover up most of the interface by calling the centreWithSize() function like so:
The showForm() helper function will be called when the "Unlock" button is pressed by the user. Since the Component was simply added with the addChildComponent() function instead of addAndMakeVisible(), the form is hidden by default thus simply call setVisible() here to show the form:
When the registration process is cancelled or succeeds, the form needs to be dismissed and the OnlineUnlockForm class automatically calls the dismiss() callback to do this. In the TutorialUnlockForm declaration, override this function by simply calling setVisible() to hide the Component:
As seen previously in the constructor of the MainContentComponent, a timer is launched to periodically check whether the application was successfully unlocked in the timerCallback() function:
Here we check whether the app is still locked with the isUnlocked local variable and if so, ask the OnlineUnlockStatus instance whether the app is still locked via the isUnlocked() function. If the app has been authorised, we switch the local variable to prevent subsequent iterations and call the following unlockApp() helper function:
This function simply enables the button to access the secret feature and disables the button to unlock the app while showing the new authorisation status.
Finally the checkFeature() function is called when the user clicks on the secret feature button and simulates the behaviour of the unlocked application:
This function is important as it provides another layer of security to our application. Notice here that the function checks again with the OnlineUnlockStatus instance whether the app is still unlocked. The reason behind this is because not only do hackers need to crack this function to unlock the app, they will need to replace all instances of this function in your application code in order to fully breach the restricted features of the app.
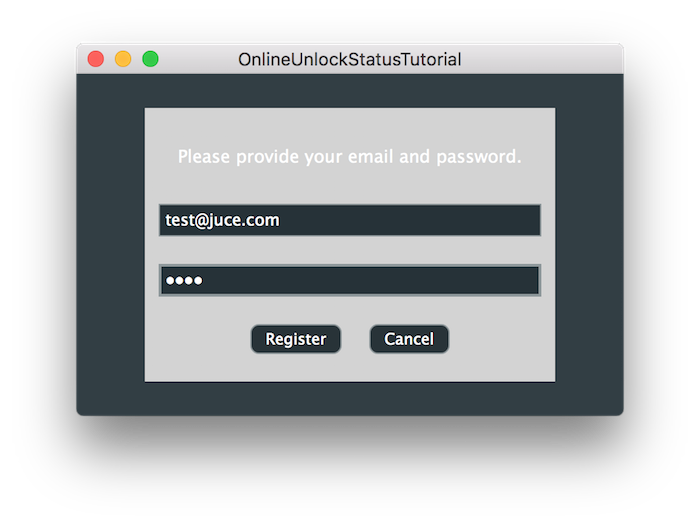
We can now display the registration form if we run the application.
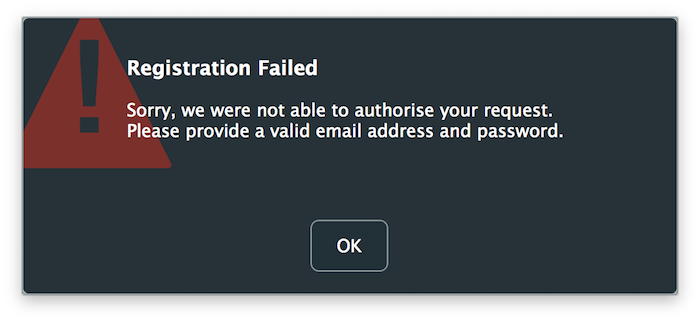
However, if we try to register the app with an arbitrary email and password combination, we will see the following error message:
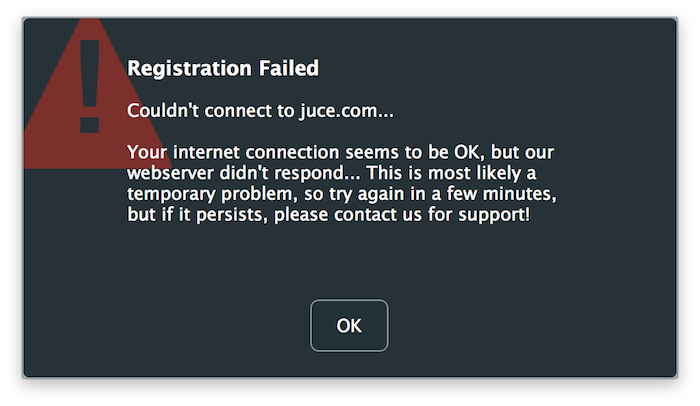
This is because the application cannot connect to the authentication server as the setup is covered in the next section of this tutorial.
OnlineUnlockStatusTutorial_02.h file of the demo project.Since the OnlineUnlockStatus class handles replies from the server in the XML format, we have to supply an XML response using PHP. The application will send the credentials to the URL supplied in the getServerAuthenticationURL() function of our TutorialMarketplaceStatus implementation which was defined in the first section of the tutorial as "https://localhost:8443/auth.php".
Hence, let's have a look at the auth.php file supplied with the demo project in the Resources folder and examine how the response was crafted in PHP:
sendResponse() that will be called later on to display the XML content.echo function.At this point, if we decide to run the server locally and try to contact the authorisation server from the app, we would receive a security warning telling us that the connection is not private or secure. For the OnlineUnlockStatus instance to send the credentials securely, we need to create a secure connection using SSL via the HTTPS protocol.
To do this locally for testing purposes, we can create a self-signed certificate and use tunneling to access the underlying unsecure HTTP protocol through HTTPS.
Navigate to the Resources folder of the project and create a self-signed certificate by running the following command from the terminal:
When prompted to provide information for the certificate, skip all the fields except for the common name or CN entry where you should enter "localhost".
This will create two files forming a pair of RSA 4096-bit key and certificate using the SHA-256 hash algorithm and an expiry date of one year. The X.509 standard denotes the self-signed policy we are interested in. To simplify things, we combine the generated key and certificate files into one PEM file like this:
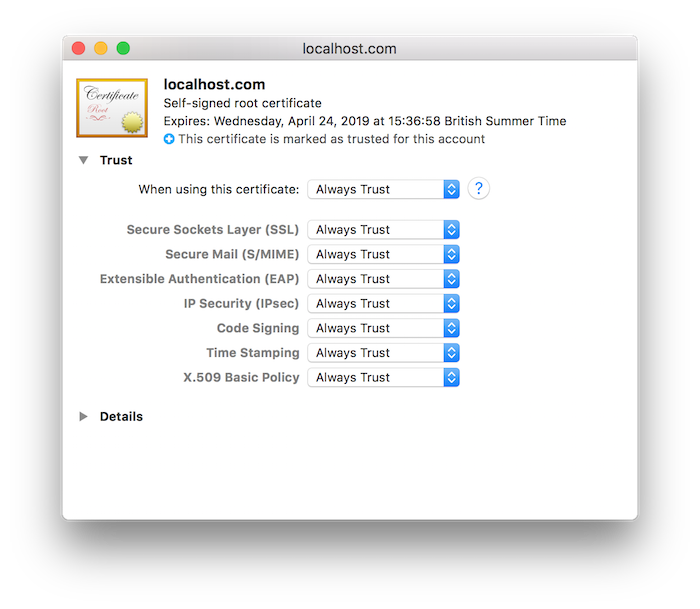
On macOS, double-click the PEM file in the Finder to add the certificate to your keychain. This will open the Keychain Access application located in the Applications/Utilities folder. Double-click on the newly-added certificate in the list to open the detailed view and expand the Trust view. Select the "Always Trust" option to allow the certificate to be trusted by the current user account of your mac as shown below:
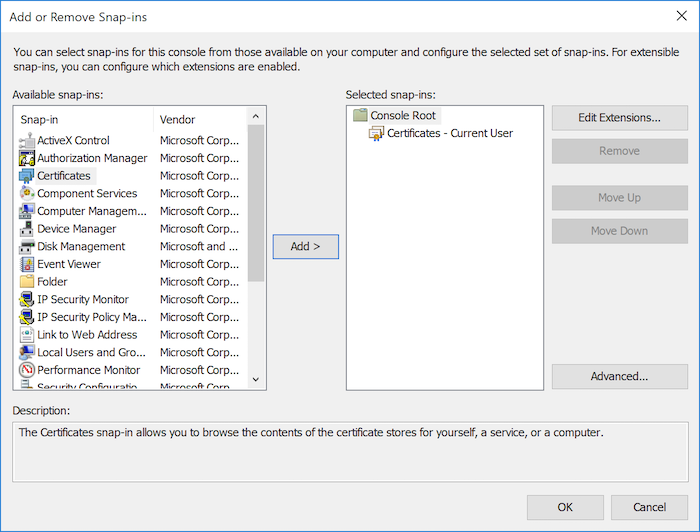
On Windows, open the Microsoft Management Console by typing "MMC" in the Run prompt and navigate to File > Add Snap-in... and select "Certificates". Click on Add to add certificates for the current user and click OK to finish.
Then import the self-signed certificate into Trusted Root Certification Authorities > Certificates by navigating to the corresponding folder in the left panel and selecting Action > All Tasks > Import... from the menu items. You will be guided through the steps to locate the certificate at which point you should select the file with the .cert extension as this is the format accepted by the MMC.

Next, let's configure the tunneling protocol by opening the stunnel.conf file supplied with the demo project in the Resources folder:
Here we define the incoming and outgoing ports to connect to and from as well as the certificate file created in the previous step to secure the link. The application will attempt to connect to port 8443 and the tunneling will link to port 8080 where the PHP server will be running.
We can finally launch the server by navigating to the Resources directory and running the following command from the terminal:
This will launch the local server to port 8080 and tunnel the connection to port 8443 for the application to access securely. Open the authentication URL "https://localhost:8443/auth.php" in your favourite browser to check that the server is running. You should see the error message declared in the auth.php file in the form of an XML response.
If all works properly, launch the application and attempt authorisation by submitting an arbitrary email and password combination. The error message you receive should be different from the previous attempt and should match the message shown in the browser like so:
This means that the application was successful in contacting the server and handling the response however we still have to generate and send the correct key file to unlock the application.
Stop the server by hitting "Ctrl+C" on the keyboard or run the following commands to stop the server and the tunneling:
Let's have a look at generating security keys as a final step.
You will find a helper Console application called KeyGenerator in the Resources folder of the project that will generate an RSA key pair to use for authenticating this application. You only have to generate keys once for every app or plugin as these can remain the same for the lifetime of the project (unless the private key is somehow compromised in which case a new pair has to be created).
If we take a look at the main() function of the KeyGenerator app, we can see that all it does is call the createKeyPair() function from the RSAKey class with a key size of 256 bits and prints the result on screen:
Build the KeyGenerator app and run the following command to retrieve the keys:
Copy and paste the public key from the previous step into the getPublicKey() function of the TutorialMarketplaceStatus class:
This will allow the application to decrypt the message from the server provided the message is authentic and was encrypted using the matching private key.
In order for the server to generate an authentic key file when requested from the app, it must own the private key generated in the previous step to encrypt the message. In a real production scenario, the key generation step must be done on the server programmatically but for the purpose of this tutorial, we will perform this step manually and copy paste the key file into the PHP script.
Navigate to the Resources folder once again to find another helper Console application called Unlocker. This will create the necessary key file to unlock the app by calling the generateKeyFile() function from the KeyGeneration class:
The function takes as argument the app name, user email and username, the machine IDs authorised for use as well as the RSA private key to encrypt the message. You can find your corresponding machine ID when running the demo project by checking the debugger log when attempting registration.
Build the Unlocker app and run the following command to retrieve the encrypted key file:
Copy and paste the key file that starts with the "#" character from the previous step into the sendResponse() function of the PHP script and include the "#" character while doing so:
Launch the server then run the application to attempt authorisation by submitting the appropriate email and password combination as defined in the PHP script:
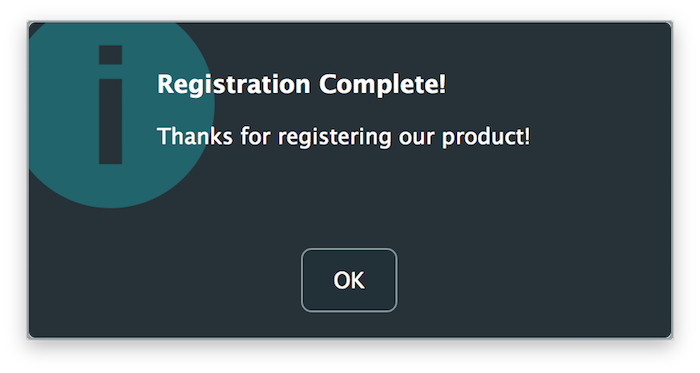
If all goes well, you should see the following success message and the application should unlock after the registration form dismisses itself:
In this tutorial, we have learnt how to unlock plugins through online registration. In particular, we have: