This tutorial introduces the display of audio waveforms using the AudioThumbnail class. This provides an easy way of drawing any number of waveforms within your audio applications.
Intermediate
Windows, macOS, Linux
AudioThumbnail, AudioThumbnailCache, AudioFormatReader, ChangeListener
Getting started
- Note
- This tutorial leads on from Tutorial: Build an audio player, which you should have read and understood first. It also assumes that you are familiar with the Graphics class and the Component::paint() function for performing drawing within a component (see Tutorial: The Graphics class).
Download the demo project for this tutorial here: PIP | ZIP. Unzip the project and open the first header file in the Projucer.
If you need help with this step, see Tutorial: Projucer Part 1: Getting started with the Projucer.
The demo project
The demo project presents three buttons in the same way as Tutorial: Build an audio player (for opening, playing, and stopping a sound file).
There is also a rectangular area where the waveform from the sound file can be drawn. In its default state (with no sound file loaded) the application looks like this:
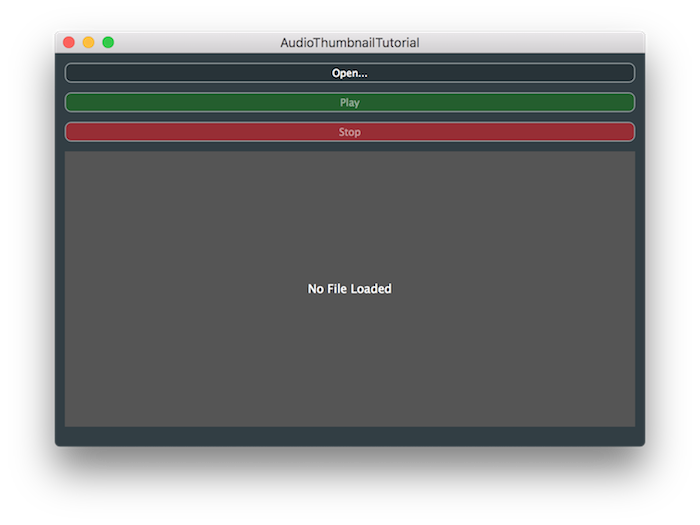
The demo project showing its initial state
Once a sound file is loaded, the application looks like this:
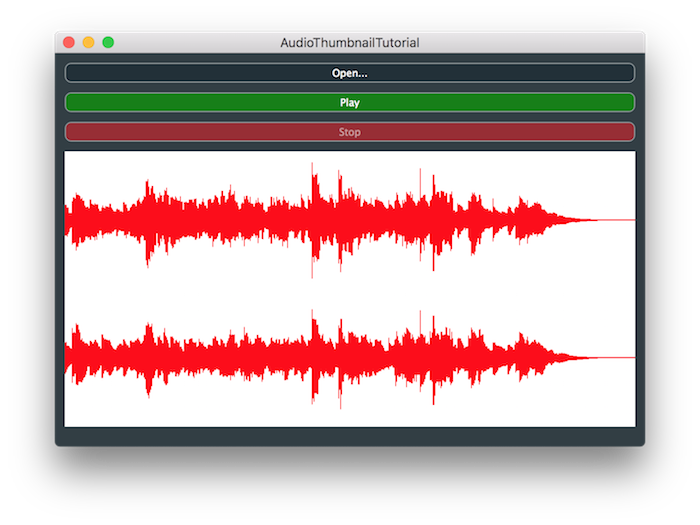
The demo project showing a file opened and displayed using the AudioThumbnail class
Drawing an audio waveform, especially for long files, generally involves storing a low resolution version of the audio data in a format that makes drawing the waveform efficient and also clear to the user. The AudioThumbnail class handles this low resolution version for you and it is created and updated when needed.
Setting up the AudioThumbnail
The first important point is that the AudioThumbnail class is not a subclass of the Component class. The AudioThumbnail class is used to perform the drawing of the audio waveform within the paint() function of another Component object. The code below shows how to add this functionality based on the demo project from Tutorial: Build an audio player.
Additional objects
In our MainContentComponent class we need to add two members: an AudioThumbnailCache object and an AudioThumbnail object. The AudioThumbnailCache class is used to cache the necessary low resolution version of one or more audio files. This means, for example, if we close a file, open a new file, then return to open the first file, the AudioThumbnailCache will still contain the low resolution version of the first file and won't need to rescan and recalculate the data. Another useful feature is that AudioThumbnailCache objects can be shared between different instances of the AudioThumbnail class
juce::TextButton openButton;
juce::TextButton playButton;
juce::TextButton stopButton;
std::unique_ptr<juce::FileChooser> chooser;
juce::AudioFormatManager formatManager;
std::unique_ptr<juce::AudioFormatReaderSource> readerSource;
juce::AudioTransportSource transportSource;
TransportState state;
juce::AudioThumbnailCache thumbnailCache;
juce::AudioThumbnail thumbnail;
};
If statically allocated objects like this are used, it is important that the AudioThumbnailCache object is listed before the AudioThumbnail object since it is passed as an argument to the AudioThumbnail constructor. It is also important that the AudioFormatManager object is listed before the AudioThumbnail object for the same reason.
Initialising the objects
In the initialiser list for the MainContentComponent constructor we set up these objects:
MainContentComponent()
: state (Stopped),
thumbnailCache (5),
thumbnail (512, formatManager, thumbnailCache)
{
- : The AudioThumbnailCache objects must be constructed with the number of thumbnails to store.
- : The AudioThumbnail object itself needs to be constructed by telling it how many source samples will be used to create a single thumbnail sample. This governs the resolution of the low resolution version. The other two arguments are the AudioFormatManager and AudioThumbnailCache objects, as discussed above.
The AudioThumbnail class is also a type of ChangeBroadcaster class. We can register as a listener for changes (in our MainContentComponent constructor). These changes will be when the AudioThumbnail object has changed such that we need to update our drawing of the waveform.
thumbnail.addChangeListener (this);
Responding to changes
In our changeListenerCallback() function we need to determine whether the change is being broadcasted from the AudioTransportSource object or the AudioThumbnail object:
void changeListenerCallback (juce::ChangeBroadcaster* source) override
{
if (source == &transportSource) transportSourceChanged();
if (source == &thumbnail) thumbnailChanged();
}
The transportSourceChanged() function just contains our original code for responding to changes in the AudioTransportSource object:
void transportSourceChanged()
{
changeState (transportSource.isPlaying() ? Playing : Stopped);
}
If it is the AudioThumbnail object that has changed, we call the Component::repaint() function. This will cause our paint() function to be called during the next screen drawing operation:
void thumbnailChanged()
{
repaint();
}
Opening the file
When we open the sound file successfully we also need to pass the file to the AudioThumbnail object within a FileInputSource object.
void openButtonClicked()
{
chooser = std::make_unique<juce::FileChooser> ("Select a Wave file to play...",
juce::File{},
"*.wav");
auto chooserFlags = juce::FileBrowserComponent::openMode
| juce::FileBrowserComponent::canSelectFiles;
chooser->launchAsync (chooserFlags, [this] (const juce::FileChooser& fc)
{
auto file = fc.getResult();
if (file != juce::File{})
{
auto* reader = formatManager.createReaderFor (file);
if (reader != nullptr)
{
auto newSource = std::make_unique<juce::AudioFormatReaderSource> (reader, true);
transportSource.setSource (newSource.get(), 0, nullptr, reader->sampleRate);
playButton.setEnabled (true);
thumbnail.setSource (new juce::FileInputSource (file));
readerSource.reset (newSource.release());
}
}
});
}
Performing the drawing
In our paint() function, first we calculate the rectangle into which we will draw. Then we check how many channels the AudioThumbnail object contains, which tells us whether we have a file loaded or not:
void paint (juce::Graphics& g) override
{
juce::Rectangle<int> thumbnailBounds (10, 100, getWidth() - 20, getHeight() - 120);
if (thumbnail.getNumChannels() == 0)
paintIfNoFileLoaded (g, thumbnailBounds);
else
paintIfFileLoaded (g, thumbnailBounds);
}
If we have no file loaded then we display the message No File Loaded by passing our paintIfNoFileLoaded() function the Graphics object and the bounds rectangle:
void paintIfNoFileLoaded (juce::Graphics& g, const juce::Rectangle<int>& thumbnailBounds)
{
g.setColour (juce::Colours::darkgrey);
g.fillRect (thumbnailBounds);
g.setColour (juce::Colours::white);
g.drawFittedText ("No File Loaded", thumbnailBounds, juce::Justification::centred, 1);
}
The important part is next. If we do have a file loaded we can draw the waveform:
void paintIfFileLoaded (juce::Graphics& g, const juce::Rectangle<int>& thumbnailBounds)
{
g.setColour (juce::Colours::white);
g.fillRect (thumbnailBounds);
g.setColour (juce::Colours::red);
thumbnail.drawChannels (g,
thumbnailBounds,
0.0,
thumbnail.getTotalLength(),
1.0f);
}
This covers all the basic points for using an AudioThumbnail object.
- Exercise
- In practice you will commonly want to display only certain regions of the sound files. It should be clear from the AudioThumbnail::drawChannels() function how simple this is to implement using JUCE. Try modifying the code to display only a specific region of the file.
Adding a time position marker
In this section we will walk you through adding a vertical line to the display that will show the current time position of the file playback.
Adding a timer
First of all we need to add the Timer class to our list of base classes :
class MainContentComponent : public juce::AudioAppComponent,
public juce::ChangeListener,
private juce::Timer
{
public:
Then we need to make the timer callback repaint our component. Make sure this code is added to the private section as you will notice we inherited privately from the Timer class:
void timerCallback() override
{
repaint();
}
In the MainContentComponent constructor we need to start the timer — every 40ms should be sufficient:
- Exercise
In fact you could delay starting the timer, by starting it once the file is successfully opened.
Drawing the position line
Finally, to draw the line we need to calculate the position of the line and draw it after drawing the thumbnail:
void paintIfFileLoaded (juce::Graphics& g, const juce::Rectangle<int>& thumbnailBounds)
{
g.setColour (juce::Colours::white);
g.fillRect (thumbnailBounds);
g.setColour (juce::Colours::red);
auto audioLength = (float) thumbnail.getTotalLength();
thumbnail.drawChannels (g, thumbnailBounds, 0.0, audioLength, 1.0f);
g.setColour (juce::Colours::green);
auto audioPosition = (float) transportSource.getCurrentPosition();
auto drawPosition = (audioPosition / audioLength) * (float) thumbnailBounds.getWidth()
+ (float) thumbnailBounds.getX();
g.drawLine (drawPosition, (float) thumbnailBounds.getY(), drawPosition,
(float) thumbnailBounds.getBottom(), 2.0f);
}
- : Store the length of the file in a variable since we need to use this value twice.
- : The position is calculated as a proportion of the total length of the audio file. The position to draw the line needs to be based on the same proportion of the width of the rectangle that the thumbnail is drawn within. We need to offset the drawing position based on the x-coordinate of the rectangle.
- : Here we draw a line that is 2 pixels wide between the top (y) and bottom of the rectangle.
And that's it: you should be able to build and run the application now.
- Note
- The source code for this modified version of the application can be found in the
AudioThumbnailTutorial_02.h file of the demo project.
- Warning
- The problem with this example is that we force the component to be repainted every 40ms. While this may be acceptable for a simple example you will probably hit performance problems in more complex cases. Take a look at the exercise, below, for more on this.
- Exercise
Separate the drawing into a separate child components (see Tutorial: Parent and child components). You should have three components:
- A component that draws the audio waveform.
- A component that draws the playback position as a vertical line.
- The main parent component that contains these two child components (laid on top of each other).
Not only will this make the code easier to follow but, if done correctly, it will be much more efficient since we can avoid redrawing the waveform every frame. You could also add functionality to change the playback position if the user clicks on the waveform.
- Note
- The source code for possible implementations of this exercise can be found in the
AudioThumbnailTutorial_03.h and AudioThumbnailTutorial_04.h files of the demo project.
Summary
This tutorial has introduced the AudioThumbnail class and how it can be integrated into an audio application. In particular we have covered:
See also
