Implement undo/redo actions in your applications. Easily restore previous intermediate states with UndoableAction objects and learn how to group undoable actions into transactions.
Level: Intermediate
Platforms: Windows, macOS, Linux
Classes: UndoManager, UndoableAction, ValueTree, TreeView, TreeViewItem
This tutorial assumes basic understanding of ValueTree objects as explained in Tutorial: The ValueTree class. If you haven't done so already, you should read that tutorial first.
Download the demo project for this tutorial here: PIP | ZIP. Unzip the project and open the first header file in the Projucer.
If you need help with this step, see Tutorial: Projucer Part 1: Getting started with the Projucer.
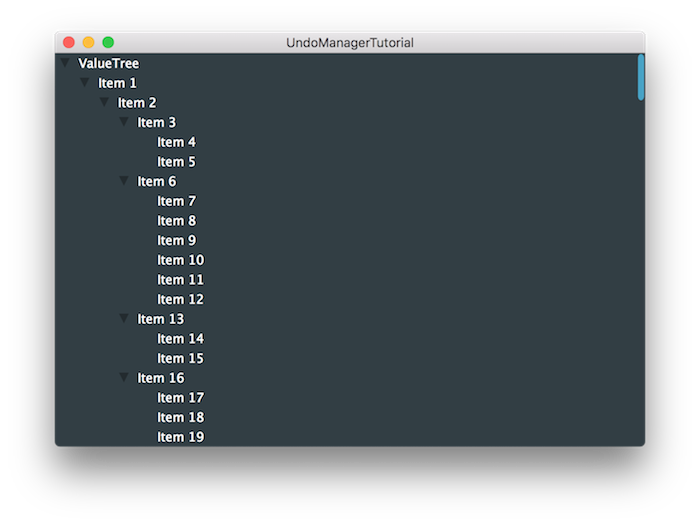
The demo project illustrates the use of the UndoManager class in conjunction with ValueTree objects to show how easily past history can be restored. It presents the ValueTree data as a tree structure using the TreeView and TreeViewItem classes. If you build and run the project, you should see something like this:

At the moment, we can drag and drop ValueTree nodes and change the hierarchy of the data structure. We can also expand and collapse children but we cannot undo and redo our changes. Let's try to implement that functionality using the UndoManager class.
Let's first add two TextButton objects to our user interface to allow undo and redo functionality. You should be familiar with lambda functions for this section and if you need help with these steps, you can refer to the Tutorial: Listeners and Broadcasters tutorial.
In the MainContentComponent class, declare TextButton variables for each button [1]:
In the constructor member initialisation list, set the text for the TextButton objects [2]:
Finally, make the buttons visible [3] and prepare the lambda functions to be assigned to the Button::onClick helper objects [4]:
We can then set the bounds for the buttons in the resized() method:
Since the ValueTree class handles undo/redo behaviour automatically, we need only pass the UndoManager instance as a parameter to register UndoableAction objects. To implement this, first declare an instance of the UndoManager class [1]:
Then assign the functions to be called when the buttons are clicked in order to handle the corresponding undo/redo behaviour. In the lambda functions, respectively call UndoManager::undo() and UndoManager::redo() as follows:
In the ValueTreeItem class, we also keep a reference to the UndoManager instance [2]:
In the member initialisation list of the class constructor, assign the UndoManager reference [3]:
Whenever a sub-item of ValueTreeItem is created recursively, we need to pass the UndoManager instance [4]:
We can now instantiate the root ValueTreeItem by passing the UndoManager instance [5] in the MainContentComponent class:
Now there are three different methods that need to be updated to register the changes we perform on the TreeView.
By passing the undoManager reference to the ValueTree functions addChild() and removeChild(), we let the UndoManager perform the UndoableAction for us by calling the perform() function under the hood. We will cover UndoableAction objects in a future tutorial.
getUndoDescription() and getRedoDescription() functions respectively. Another useful feature of the UndoManager is its ability to group several actions together as a single undo/redo transaction. By calling the beginNewTransaction() function on the undoManager instance, all the calls to the perform() function of the UndoManager are grouped together until the next beginNewTransaction() call.
As an example, let's create a Timer to call the beginNewTransaction() function periodically and store groups of actions together as transactions. In the MainContentComponent, inherit from the Timer class to receive timer callbacks [1]:
Declare the callback function in the corresponding header file [2]:
Start the timer in the constructor with the desired interval in milliseconds betwen transaction calls [3]:
Finally, we can call the beginNewTransaction() function on the UndoManager in the timer callback [4]:
UndoManagerTutorial_02.h file of the demo project.By completing this tutorial, you have learnt how to restore previous states of your application. In particular, we have: