
Loading...
Searching...
No Matches
This tutorial introduces the use of Android Studio for creating JUCE-based projects.
Level: Beginner
Platforms: Android
In this tutorial we will install and configure the tools necessary for building JUCE-based applications using the Android Studio application.
Before we create a JUCE application for Android we need some of the standard tools, Android SDKs, and the Android NDK (Native Development Kit).
Download Android Studio from the following URL: https://developer.android.com/sdk/index.html
The download is quite large so may take some time (around 700MB on macOS and Windows). This is only the initial download, there are more items to install later. Be prepared for this whole process to take a while. After the download is complete, follow all of the instructions on the "Installing Android Studio" page that should have appeared after you initiated the download.
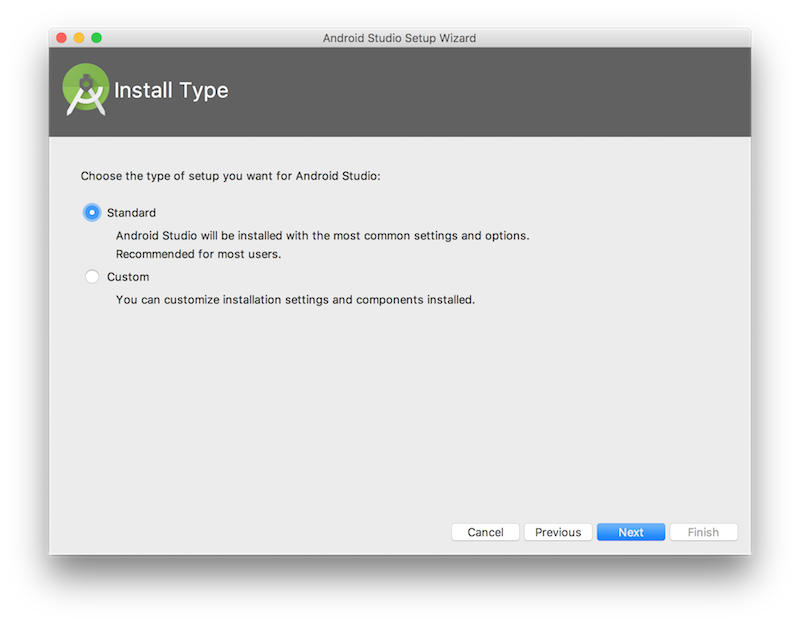
Perform a standard install of Android Studio. This is done using the installer on Windows, but on Mac OS X you need to finish the installation when Android Studio is first opened. This is shown in the following screenshot.
It is useful to test on a virtual device, even if you have a selection of physical Android devices, so select this option when prompted.
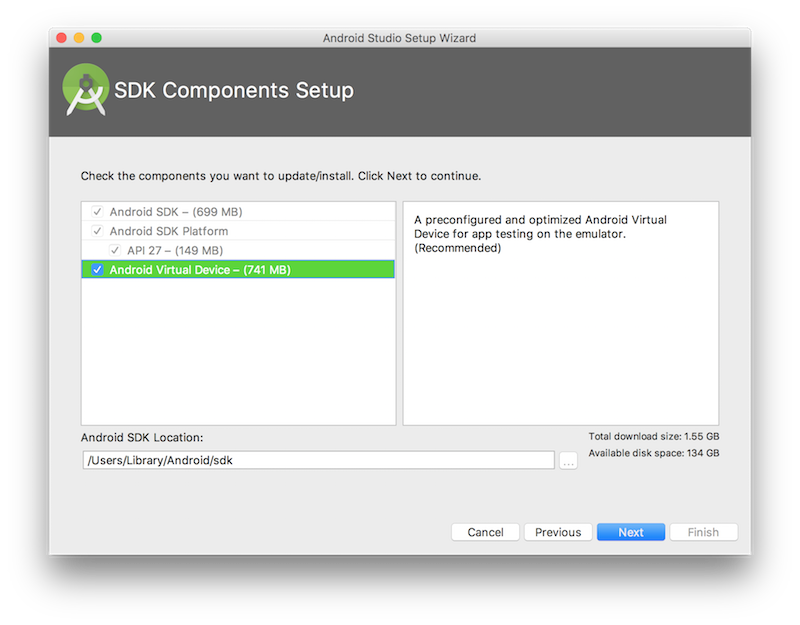

Keep clicking through the install process (clicking Next) until it is finished.
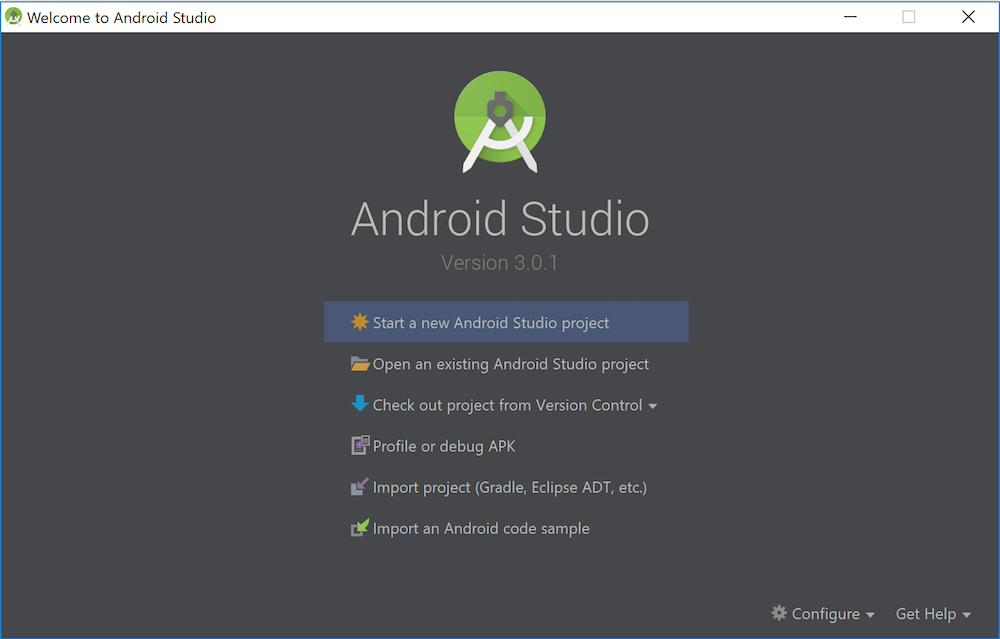
Now that Android Studio itself is installed we need some additional tools. In the Welcome to Android Studio window, click the Configure button in the bottom right corner.
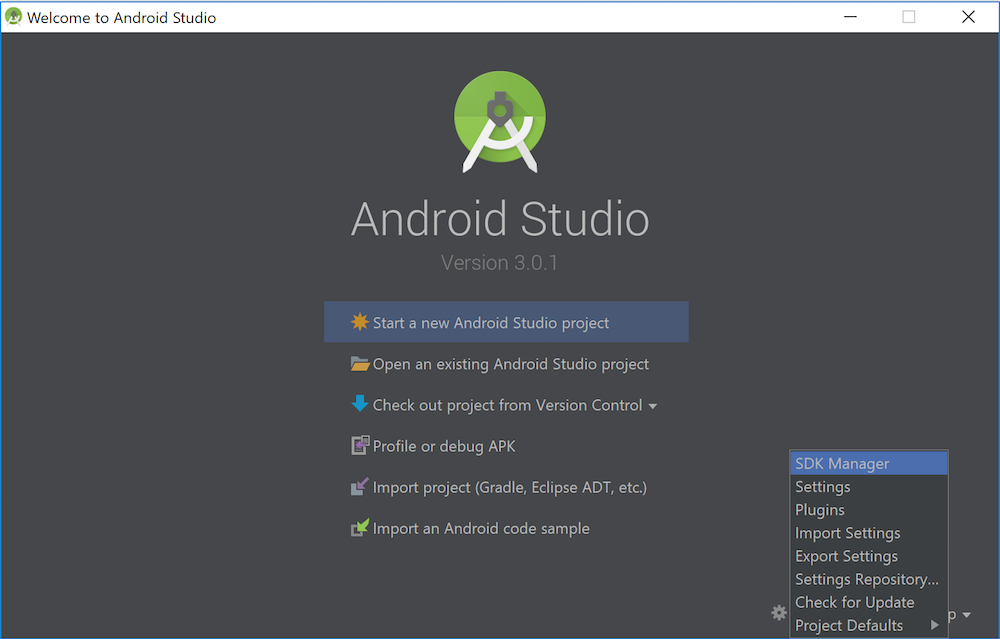
Then click the SDK Manager button.
If you need other SDK Platforms, then you can select the ones you need in the SDK Platforms tab. The defaults should work fine for now.
One more thing that we need is the Android NDK. This is critical for JUCE to work with Android since it provides the C/C++ APIs for writing Android applications. You should make sure that CMake is installed, which is required to build the apps and LLDB for debugging C/C++ code. Note that these may be already installed. To install these, select the SDK Tools tab within the SDK Manager, select the items and press Apply as shown in the following screenshot:
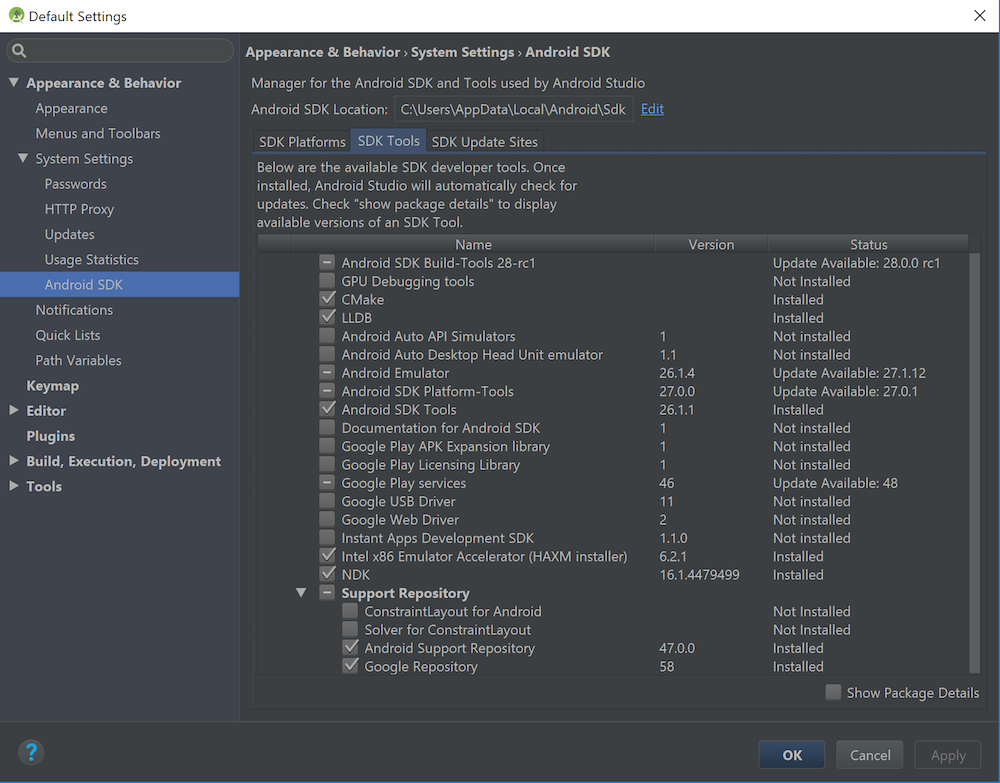
Ensure that at least the items that are shown selected in the screenshot above are selected on your system (on either Windows or Mac OS X). It is fine to install additional items if you wish. Click the Apply button when you're done.
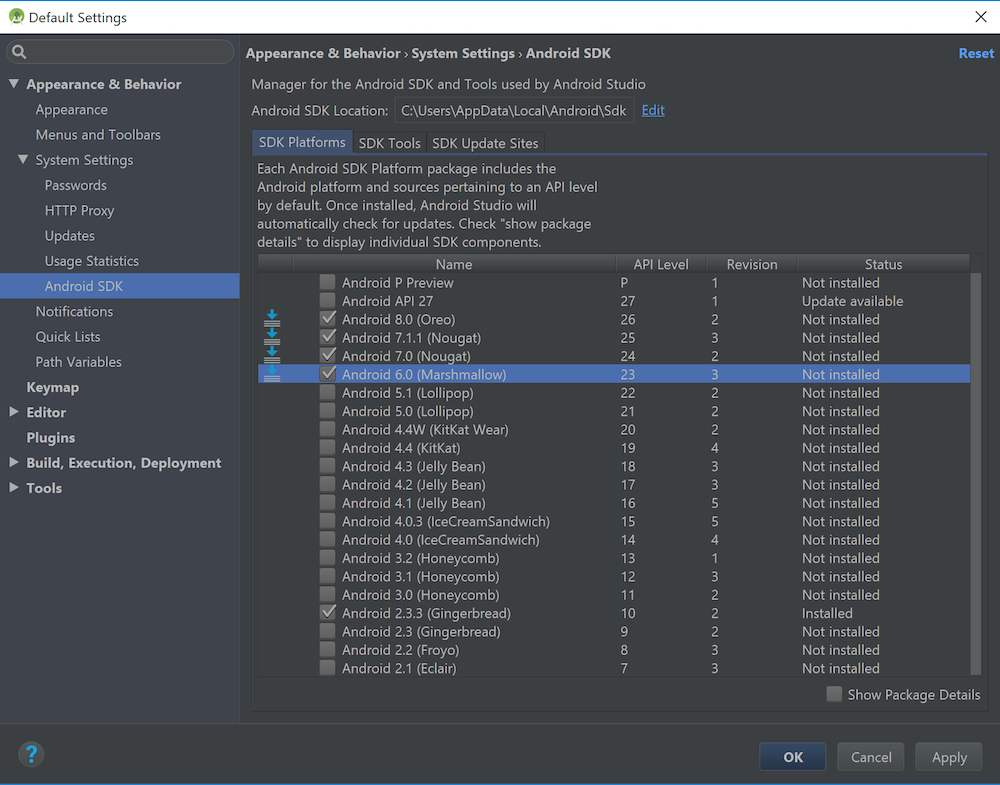
Now that Android Studio, the Android SDKs, and the Android NDK are installed we can configure the Projucer to create JUCE-based Android Studio projects for us. (If you are not familiar with the Projucer, you may wish to refer to Tutorial: Projucer Part 1: Getting started with the Projucer.) To do this we need to know where the Android SDKs (and the NDK) are installed.
The location of the Android SDK is shown at top of the SDK Manager window. The path will be something like this (where "username" is your user name):
C:\Users\username\AppData\Local\Android\sdk (on Windows)/Users/username/Library/Android/sdk (on Mac OS X)Copy this path from the SDK Manager window to your clipboard ("CMD-C" on Mac OS X or "Ctrl-C" on Windows)
Open the Projucer application and navigate to menu item Projucer > Global Search Paths... Paste the path ("CMD-V" on Mac OS X or "Ctrl-V" on Windows) into the Android SDK field. When you hit "Return" the text should be displayed in white text. This is shown in the following screenshot:
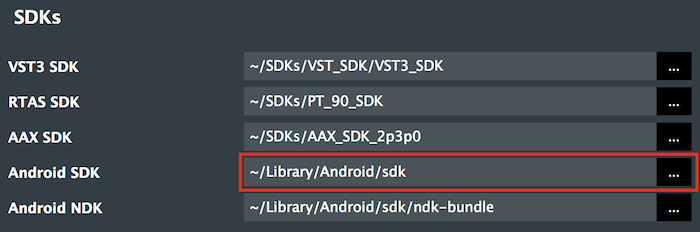
If the SDK can't be found, or is not installed correctly, then the Projucer will display the path that you have entered in red.
The NDK is found within the SDK in the ndk-bundle directory. It will be something like this:
C:\Users\username\AppData\Local\Android\sdk\ndk-bundle (on Windows)/Users/username/Library/Android/sdk/ndk-bundle (on Mac OS X)Enter your SDK path, with the ndk-bundle directory appended, into the Android NDK field within the Global Search Paths window.
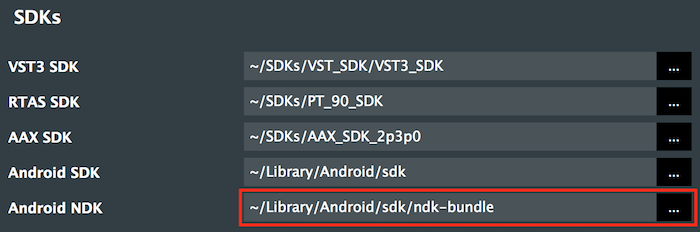
Again it should be displayed in white if the path is correct and the NDK is installed correctly (and red if it is not).
Now let's create a new project. Navigate to menu item File > New Project... Choose a GUI Application project type, choose a location for the project, and make sure that you check the Android target platform. This is shown in the following screenshot:
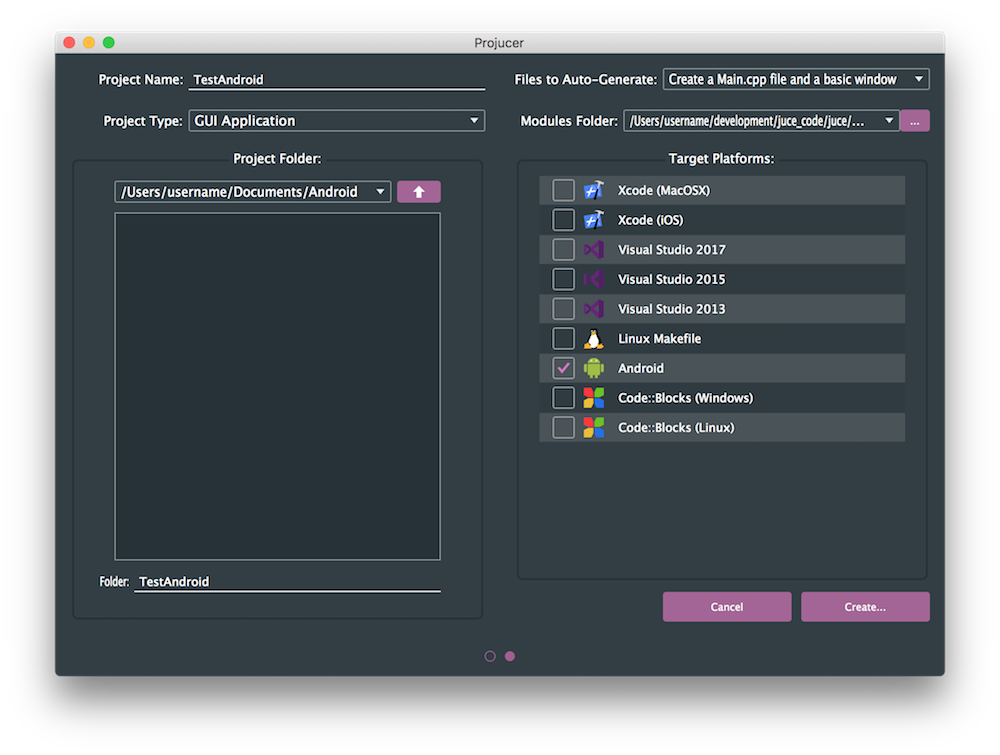
Click the Create... button.
Unless you installed all of the Android SDKs earlier, you will need to change the minimum SDK version supported in the Projucer project. Select the Android exporter in the left hand-column and find the Minimum SDK Version field. We suggest entering a value between 23 and 27 as shown in the following screenshot:

There is a minor change that you can make to the application code, to work well on Android devices, in terms of the screen layout. In the Projucer, select the Files tab and select the Main.cpp. Update the MainWindow constructor as follows:
This will make the application run fullscreen, rather than within a window (as would be the norm on desktop platforms).
You can now open the project in Android Studio by clicking the Save Project and Open in IDE... button in the Projucer. Android Studio should open and display this window:
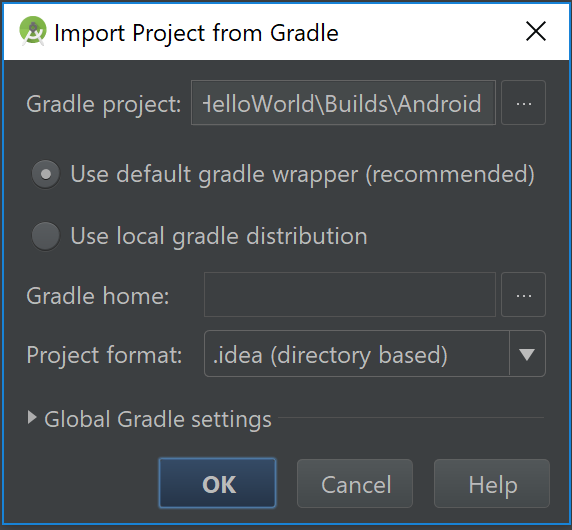
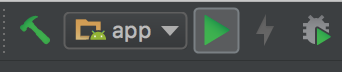
Click the OK button and the project should import and open. If the project fails to compile, follow the instructions to install any additional SDKs. You may need to install an older version of the SDK for the project to compile. You should now be able to run the project from within Android Studio. Hit the "run" button:
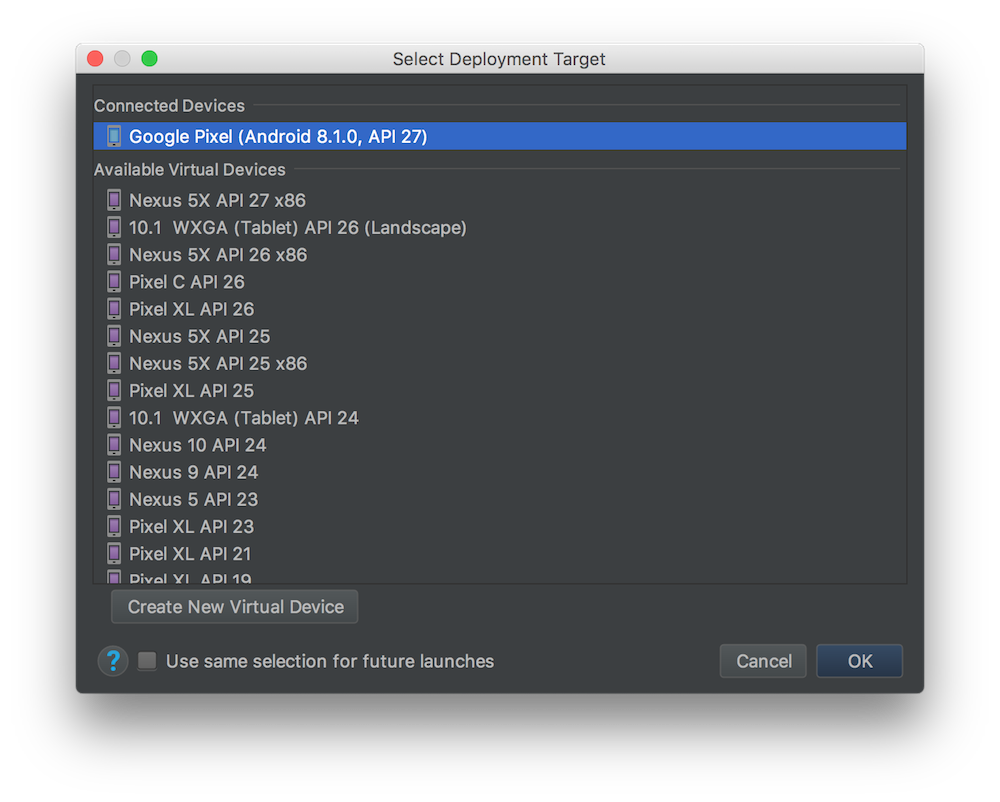
Android Studio will ask you which device you want to use. As this is the first time you launch the app, you will need to create a virtual device to run it. Click the Create New Virtual Device button to set up a new device and select the device of your choice. You should now have a virtual device, so you can select it in the list and click the OK button. (If you have an Android device connected via USB you should also see it in that window.) This is shown in the following screenshot:
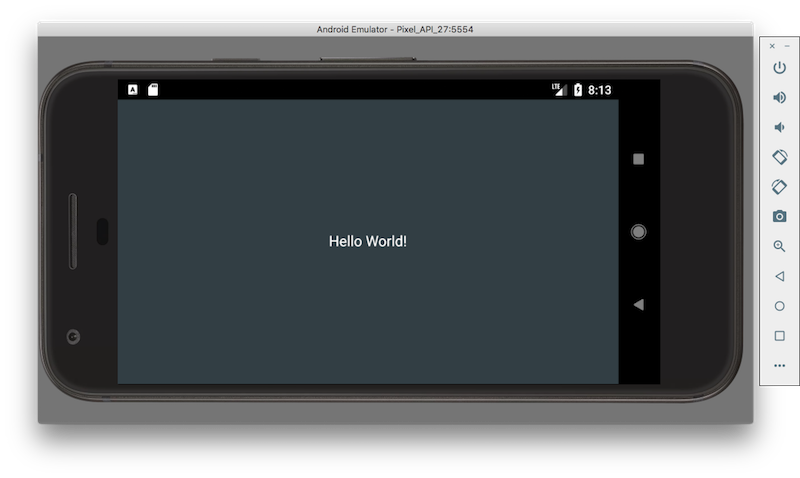
The application should now launch on the device! It should look something like the following screenshot (this shows the device rotated to landscape orientation):
In this tutorial we have covered the following topics: